Blog Archive

Showing posts with label PC Build. Show all posts

Saturday, September 30, 2017

Intel Announced its 8-Generation Desktop Processors

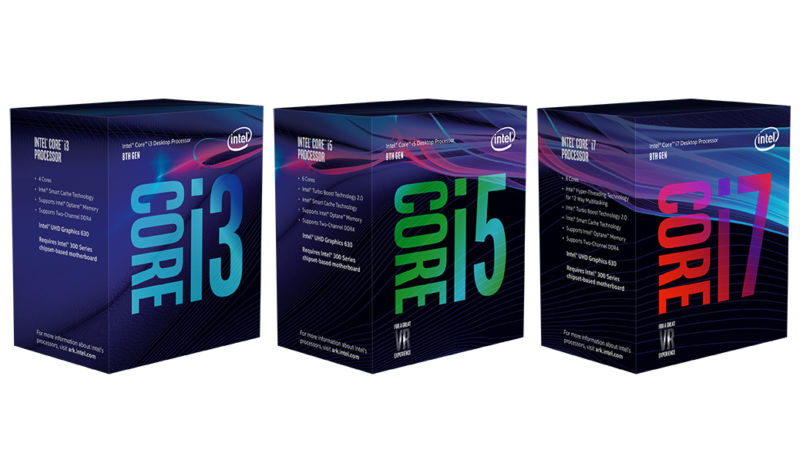
After Intel released laptop versions of these Coffee Lake processors back in August, its now the desktop's turn. The main difference between Coffee Lake and the previous generation is the core count. Intel increased the core count across the board, the i3 processors are now 4 cores (up from 2), the i5 processors are now 6 cores (up from 4), and the i7 processors are now 6 cores with hyper-threading. (Note: full line-up below)

Intel claims the new chips are now 32% faster than the previous generation and 65% faster than the generation from 3 years ago. And i7-8700k as the "best gaming desktop processor ever." The structure is still fairly similar to the last generation, coming out as a 14++nm node. But Intel promised later 8 generation chips will be 10nm architecture. Lastly, the motherboard chipset has to be Z370 in order to fit these.

Full Line-up at Launch:
  • i3-8100, 4 cores / 4 threads at 3.6GHz (approximately $117)
  • i3-8350k, 4 cores / 4 threads at 4.0GHz (approximately $168)
  • i5-8400, 6 cores / 6 threads at 2.8GHz boost to 4.0GHz (approximately $182)
  • i5-8600k, 6 cores / 6 threads at 3.6GHz boost to 4.4GHz (approximately $257)
  • i7-8700, 6 cores / 12 threads at 3.2GHz boost to 4.6GHz (approximately $303)
  • i7-8700k, 6 cores / 12 threads at 3.8GHz boost to 4.7GHz (approximately $359)

Sunday, April 16, 2017

Building a New PC - Finale

Welcome, to this last part of Building a New PC series. In this finale, I will be putting all the components that I mentioned in the previous post together. Here is the very general guide on building a PC, I strongly advise you to learn from YouTube videos and experience builders in online communities. 

First of all, I took out the motherboard, it's the first thing that should be worked on because everything in the computer is directly connected to the motherboard. Then I placed the motherboard on the product box because cardboard isn't conductive and we are dealing with technology here. 

After that, I placed the CPU in the socket and the RAM in the slots (remember to open them first)


Then, it's time to install the CPU cooler. For mine, I wanted to change the fan on the Corsair H60 Cooler because it's way too loud for me. So I bought one Be Quiet Silent Wings 3 fan, it's a really quiet fan but still remains in high-pressure.


Lastly, I fitted my motherboard in the case, and DO NOT forget to install motherboard shield first. It's the silver shiny rectangle that goes in the back of your case. Then once the motherboard is screwed in, I installed the CPU cooler and the radiator is facing upward. It is not an idle position due to m-ATX case space limitations. Facing upward makes the air harder to blow against gravity, that's why most radiators face the back of the case. 
Then I put in the PSU and routed the necessary cables to the back, and left the unnecessary ones in the front due to limitations on cable management. Most people custom PC route as many cables to the back as possible for air flow and beauty (if the case has a side window). Once that's done, I installed the GPU, SSD and hard drives. Finally, I connected all the cables to different parts and to the motherboard for powering the whole system. If you are going to use the same or a smaller case than me, you better have good patience because everything is really tight together. 

Since this case doesn't have a side window, I didn't care much about cable management as long as the PC has a good positive air flow. If you want a PC with a side window, go for a modular PSU because they are much easier to work with and you can take out any unnecessary cables. Also, modular PSUs don't have ugly ketchup and mustard cables like mine. And LED lights are always necessary for windowed PCs.

Sunday, April 9, 2017

Building a New PC - Part 3

Continuing on this series, I then listed all the parts I need in a Microsoft Word document and check the compatibility of each component. Many people use PCPartPicker.com which checks all the compatibilities from the components for you, but I like to check them myself because it's more enjoyable and going through all the details of each component is an important step. After checking, I ordered new parts for my next PC from Amazon. Here is the complete spec list:

Intel i5-7500 @ 3.4 GHz
ASRock B250M Pro4
Kingston HyperX 8 GB DDR4
MSI Gaming X GTX 1060 6GB
Corsair H60 (with Be Quiet Dark Wing 3 fan)
Samsung 850 EVO 500GB
Western Digital 1TB
Cooler Master Silencio m-ATX case


In case you haven't realized, my next PC build is aiming for silent yet not compromised mid to high-end PC that is also fast with low temperatures. With the Be Quiet Dark Wing 3 fan, MSI Gaming app to control the GPU fan speed, and the foam dampening materials on the case, the noise level is reduced drastically from my last PC build.

Saturday, March 25, 2017

Building a New PC - Part 2

For the next week, I auctioned the CPU, RAM and the GPU off eBay. This was my first time using eBay so I went online and searched up the prices other people have put up for the products that I was selling. Also, I looked some other useful hints about auctioning off eBay. I found out that, in order to have a good auction sell, I needed to start my auction around 7:30 PM on a Sunday and set to end in 7 days, also I set the price at a relatively low price. This tactic is very useful because around that time on Sunday, eBay gets the most traffic on their site, then, when the auction ends, it will end at another high-traffic time period. So when I started, I immediately got multiple watchers on my products, and closer to the end, they were bidding like crazy, because the auctions also end on a Sunday with lots of traffic.

After researching, I took multiple pictures for each product, and fill out as much information as possible on eBay and set the shipping for free (because when people are searching, it will show a banner that can attract people). For the CPU, I had an i5 4590, I set the starting price at $60; For the RAM, I had 16 GB DDR3 and set it at $40; lastly for the GPU, I had MSI GTX 960 4GB and set it at $60. For all of them, I didn't put up a buy-out price because I wanted to see how high people are willing to place their bid at. I thought maybe when there's no limitation, people are willing to bid higher than I predicted.

As it turns out, the final prices were $140, $90 and $135. They were all higher than I predicted. Before you think, the prices are so much lower than the original prices, you need to take account that these are old and outdated hardware. And I compared to other auction with the same products, by using my tactic, I even sold mine much higher than others who were experienced sellers with positive reviews.

Here are the photos I took:


To Be Continued...
Next episode -- Choosing my next PC parts and building it

Interested? Stay tuned for more this series and share this on social media. Thanks a lot and enjoy!

Sunday, March 12, 2017

Building a New PC - Part 1

About a month ago, I broke my first ever custom PC that I built for myself. It was over a year old, and I have cherished it ever since it's completion. However, I broke it when I was unplugging and cleaning the system case fans, I was suppose to fully turn off the computer and even the power supply unit (PSU). Instead, I made a extremely childish move by forgetting turning them off and leaving the PC on sleep mode. So after cleaning the fans, I installed the fans back in and realized the PC was refusing to turn back on, because the system keeps running for 2 seconds and then shuts down, and the cycle never ends. It was at that moment that I've realized that I (so-called) fried my motherboard.

After some thinking, I found out I have two options: either I spend a $100 on a old motherboard with 1150 socket and DDR3 RAM slot, or sell the CPU, RAM and the GPU then wait for AMD's Ryzen to come out in March 2nd. (This was back in mid February, and Ryzen chips were rumored to have much better performances at a faction of Intel's cost)

So I decided to sell the parts and leave the CPU cooler and SSD behind, because they can be used in my next PC build. Immediately, I jumped right on the Ryzen hype train just like 90% of the PC enthusiast.

Extra: I published a blog with all the Ryzen chip leaks (performance, price, etc)
Check it out here: Newly Leaked AMD Ryzen Full Lineup


To Be Continued...

Next episode -- How did I sold the PC parts at the highest price possible as a first time eBay seller?
                         Deciding what to buy for my next build.

Interested? Stay tuned for more of this series and share this on social media. Thanks a lot and enjoy!